

When I upgraded from Windows 7 to Windows 10, all of the settings were totally changed. Even my computer’s name got changed. I usually have to send and receive files via network, but whenever I had to connect between multiple PCs, there was always a confusion for the computer name.
By default Windows 10 will display your computer name as “My PC”. So, I had to change this name to some suitable one that I can easily identify whenever connecting over a network.
However, apart from sharing files or folders, you may wish to change the name of your computer. Luckily, Windows 10 allows you to easily change your computer name. Follow the step-by-step guide explained below with relevant images.
Guide
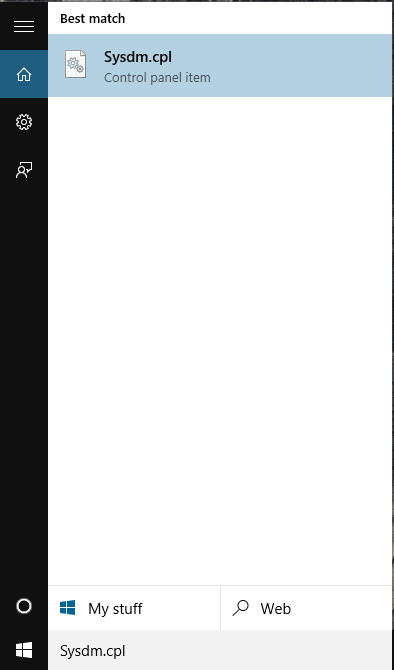
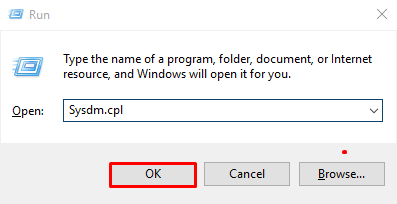
1: In the Hey Cortana search bar right next to the Windows button, type Sysdm.cpl. Alternatively, you can press “Win + R” and type in the same search query in Run command box and hit enter.
2: It will launch the “System Properties”. From here, click on the “Computer Name” tab and then click on “Change” button as shown in the screenshot below.
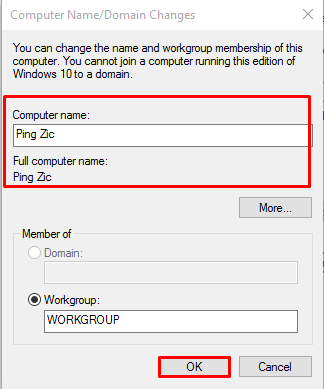
3: Finally, on the box, under the “Computer Name” field enter the name you desire to keep for your computer. Click OK button to make the changes.
4: You will be asked to reboot your computer for making the changes completely. Your Windows will ask you to save any files that you were working on and close the rest of the programs before restarting the Windows.
5: Once the computer restarts, all changes will be successfully made and your computer will be renamed to the name you just entered.
Alternative Method to Change Computer Name
1: Click the Windows button, and then hit Settings. You can also use the hotkey “Win + I” to quickly open Settings windows.
2: Now click on System (Display, notifications, apps, power) icon.
3: Next scroll down the left pane and click on About.
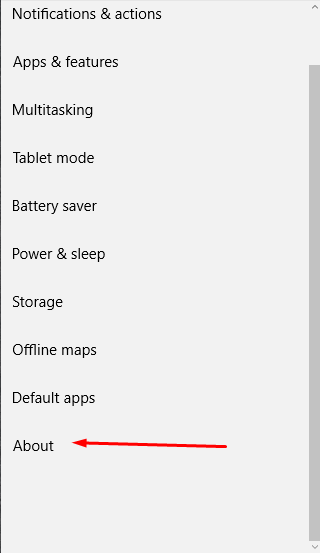
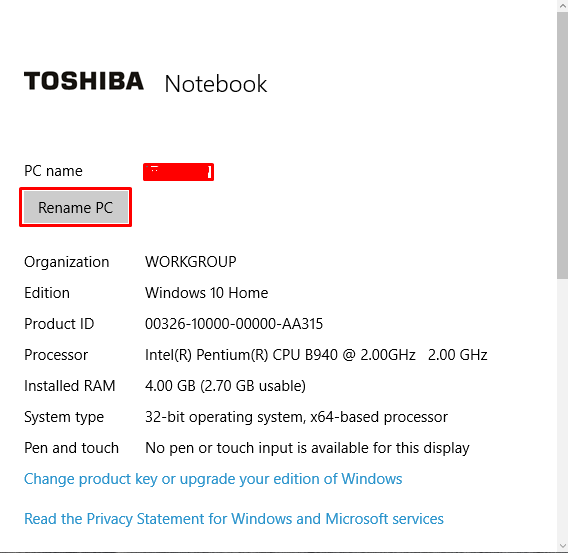
4: From the right side, click on “Rename PC” and enter the name you wish to keep for your PC.
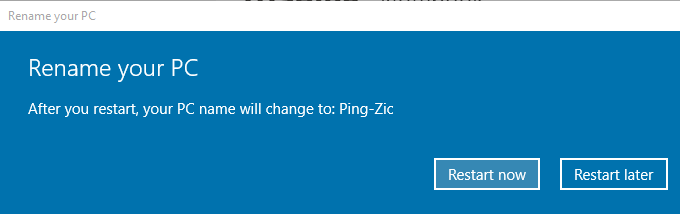
5: Finally after renaming, click Restart and that’s all. You have successfully changed the name for your PC. Now whenever connecting over a network, you will see the new name you entered.
I hope fellow readers that this guide was helpful. Do leave your feedback in comments and let us know if you are facing any issues. We’ll be happy to help you out!
